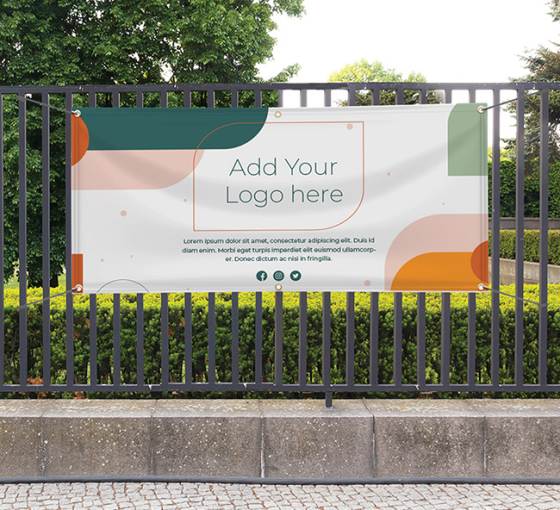
Blurry or pixelated prints can ruin the impact of your design, whether it’s a business card, brochure, banner, or poster. Many printing issues stem from low-resolution images, which don’t have enough detail to reproduce crisp visuals. Digital screens can display even low-quality images with some clarity, but printing demands higher resolution to maintain sharpness and accuracy.
Before sending a file to print, it’s essential to check if the image meets the required resolution standards. This guide explains how resolution works, how to identify and fix low-quality images, and what steps to take to ensure professional-looking prints. By following these methods, you can avoid common pitfalls and achieve high-quality printed materials every time.
Step 1: Understand Image Resolution
What is Image Resolution?
Resolution determines image quality and is measured in DPI (dots per inch) for printing. A print-ready image should be at least 300 DPI to ensure crisp details. DPI refers to the number of dots a printer can place per inch of paper. Higher DPI results in smoother gradients and sharper images, while lower DPI results in visible pixelation.
Difference Between Screen and Print Resolution
Many images found online have a resolution of 72 DPI, which is optimised for digital screens but inadequate for printing. While a 72 DPI image may look sharp on your computer or phone, it will appear blurry or pixelated when printed. This is why using high-resolution images from the start is critical.
Step 2: Check Your Image Quality
Before attempting to print an image, assess its quality using the following methods:
1. Zoom Test
Open your image and zoom in. If the edges appear pixelated or unclear when enlarged, the resolution is too low for printing.
2. File Size Check
Larger file sizes generally indicate higher resolution. For example, an image file larger than 1MB is more likely to have adequate detail for printing. In contrast, small files (e.g., under 100KB) often lack the necessary resolution.
3. DPI Test in Photoshop
- Open your image in Adobe Photoshop.
- Navigate to Image > Image Size.
- Look at the DPI value. If it’s 72 DPI, it needs adjustment for printing.
- If necessary, change the DPI to 300 while maintaining the image dimensions.
4. Print Test
If unsure about the resolution, print a small section of the image at its intended size. If it appears blurry, pixelated, or lacks detail, the resolution is insufficient.
Step 3: Improve Image Quality
If your image is low-resolution, you can enhance it using the following techniques:
1. Use a High-Resolution Image
- Take new photos using a high-megapixel camera (preferably 12MP or higher).
- Download stock photos from reliable sources such as Shutterstock, Adobe Stock, or Unsplash.
- Request high-resolution versions from designers or photographers whenever possible.
- Scan images at high DPI (at least 300 DPI) if working with physical photographs.
2. Resize Without Losing Quality
Increasing the size of a low-resolution image often results in pixelation. However, there are ways to upscale images without significant quality loss:
Using Adobe Photoshop
- Open the image in Photoshop.
- Go to Image > Image Size.
- Enable Resample Image and select Preserve Details 2.0.
- Increase the dimensions carefully while checking for quality loss.
Using AI-Based Upscaling Tools
- Let’s Enhance: Uses AI to upscale images while preserving details.
- Topaz Gigapixel AI: Specialises in enlarging images without pixelation.
- Waifu2x: Best for digital artwork and anime-style images.
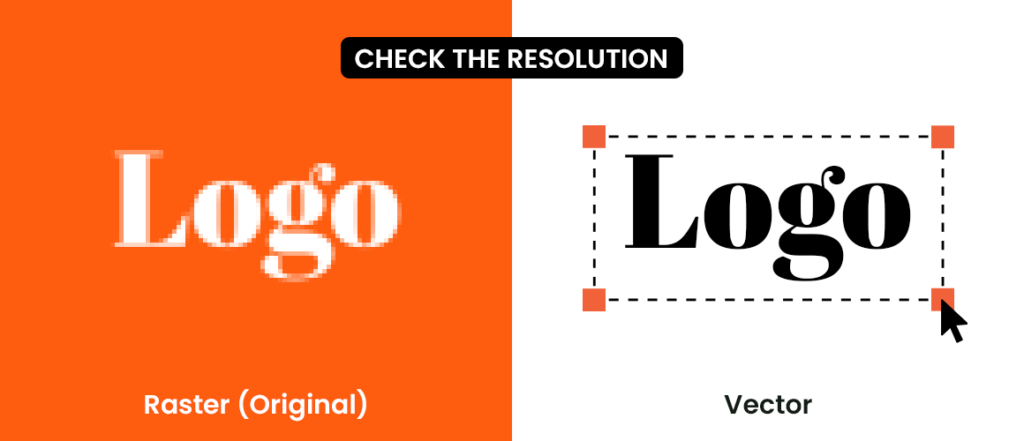
3. Convert to Vector Format (For Graphics & Logos)
Raster images (JPEGs, PNGs) can lose quality when resized, but vector images (SVG, AI, EPS) remain sharp at any size. Convert logos and illustrations to vector format using:
- Adobe Illustrator: Use the Image Trace tool to convert raster images into vectors.
- Inkscape: A free alternative for vectorisation.
- Online Vectorisation Tools: Websites like Vectoriser.io can automate the process.
4. Apply Image Sharpening Techniques
If an image is slightly blurry, apply sharpening filters:
- Photoshop: Use Filter > Sharpen > Unsharp Mask.
- GIMP: Use the High-Pass Filter method.
- Online Tools: Websites like LunaPic offer sharpening tools.
5. Save in Print-Ready Formats
To maintain image quality, save files in the appropriate format:
- TIFF: Best for high-quality prints with no compression.
- PDF: Ideal for printing documents, business cards, and banners.
- PNG: Supports transparency and works well for logos.
- AI/EPS: Preferred for vector graphics that require resizing.
- JPEG (with minimal compression): If using JPEG, save with minimal compression to retain details.
Step 4: Print with the Right Settings
Once your image is high-quality, ensure you use the correct print settings:
1. Use the CMYK Colour Mode
Printers use CMYK (Cyan, Magenta, Yellow, Black) instead of RGB (Red, Green, Blue). Convert your image to CMYK using Photoshop:
- Open Image > Mode > CMYK Colour.
2. Ensure 300 DPI Resolution
Before printing, confirm the image is set to 300 DPI. If using Photoshop:
- Open Image > Image Size.
- Set the resolution to 300 DPI.
3. Avoid Over-Compression
Excessive compression reduces quality. When saving:
- Use TIFF or PNG for lossless quality.
- If using JPEG, choose maximum quality settings.
Common Mistakes to Avoid
- Using Web Images for Printing: Web images are typically 72 DPI, making them unsuitable for print.
- Resizing Small Images: Enlarging a small, low-resolution image leads to pixelation.
- Ignoring DPI Settings: Always check and adjust DPI before printing.
- Not Checking File Format: JPEGs lose quality with multiple saves. Use TIFF or PNG for better results.
- Skipping a Print Test: Always print a test section before final production.
Conclusion
Low-resolution images negatively impact print quality. By following these steps – using high-resolution images, adjusting settings, and selecting the right file formats – you can achieve sharp, professional print results. Understanding image resolution, utilising proper editing tools, and saving files correctly will ensure your printed materials look flawless, whether for business, marketing, or personal projects. Take the time to check and fix image resolution before printing to avoid costly mistakes and ensure your final prints meet professional standards.
Written by BannerBuzz Editorial Team.
 Posted in